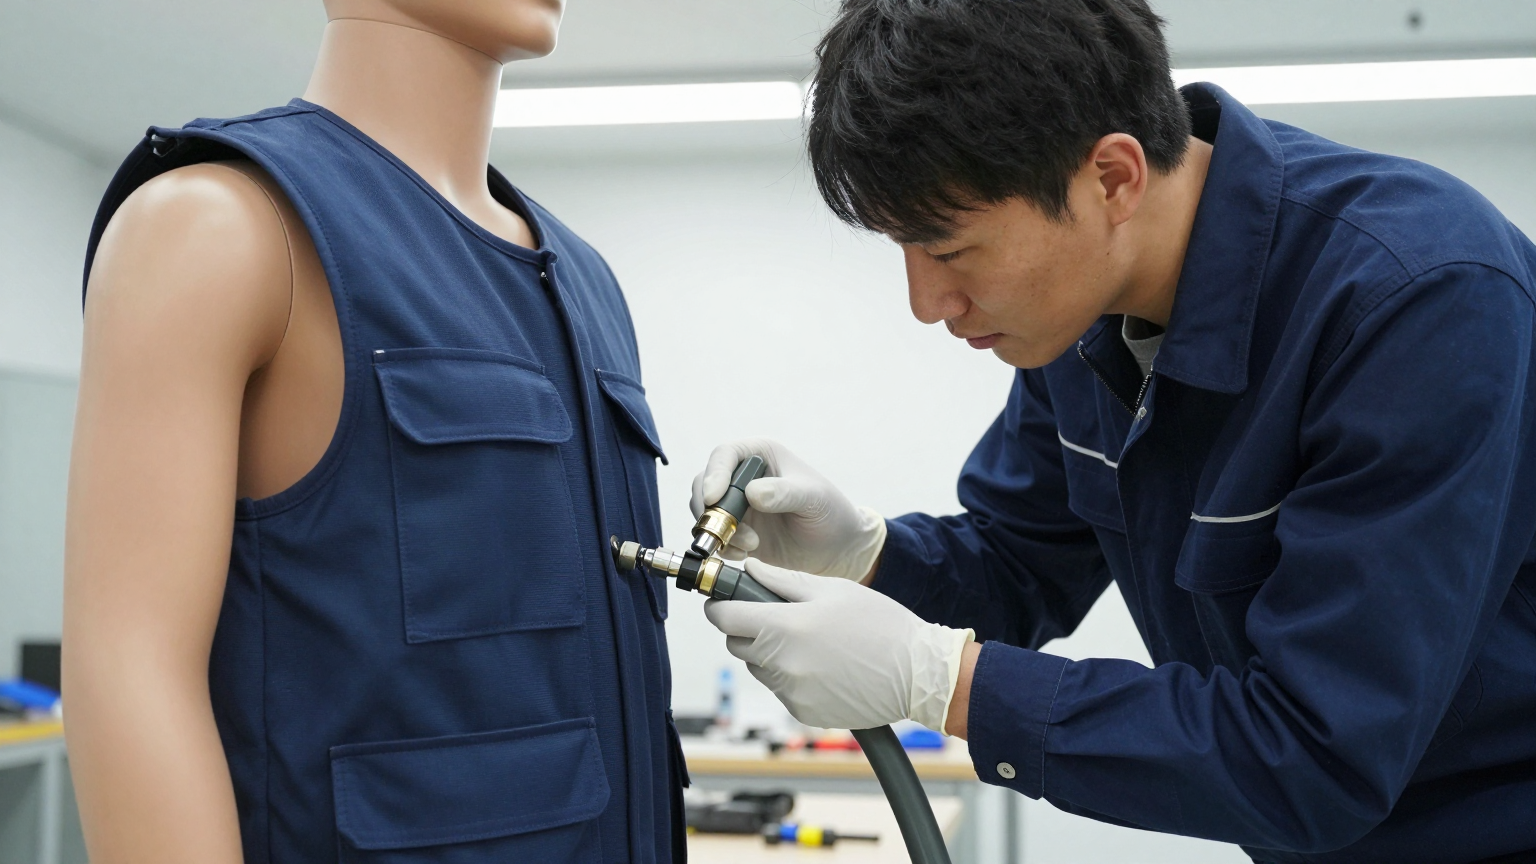
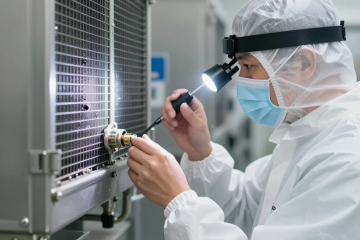
Field Snapshot: The vehicle returns to the line. The pit window is short, and the operator needs to swap out. The cooling umbilical is the last connection to be broken. A clean, fast release is critical. But this time, the quick-disconnect (QD) fitting either sprays coolant, drips excessively, or refuses to release smoothly. The clock is ticking, the operator is still tethered, and a seemingly minor component has just compromised the entire operation’s tempo and safety. This scenario, common in demanding environments, highlights the pivotal role of the humble QD fitting—and the operational friction that results when it fails.
For safety managers and operations leads, the reliability of a personal cooling system hinges on its weakest link. Often, that link is the point of connection and disconnection. These fittings are subjected to repeated cycles, environmental contaminants, and user handling under pressure. Understanding their failure modes is not just a maintenance task; it’s a core component of managing heat-stress mitigation programs effectively. This field guide provides a systematic approach to diagnosing and resolving common QD connector problems, moving from symptom to root cause to operational remedy.
Diagnosing Quick Disconnect Issues Cooling Suit Systems
When an operator reports a problem with their cooling vest, the first step is to triage the failure mode systematically. Vague reports like “it’s not working” are common, but effective troubleshooting requires precision. Before disassembling components, classify the problem into one of three primary categories: leakage, flow restriction, or mechanical failure. Each category has a distinct diagnostic path.
A common mistake is to immediately blame the connector itself without considering the system as a whole. The QD fitting is often where a systemic problem, like contaminated coolant or excessive line pressure, becomes visible. A structured triage process prevents unnecessary component replacement and addresses the root cause, improving overall fleet reliability.
Triage Decision Matrix
Use the following logic to guide your initial assessment:
| Observed Symptom | Primary Check | Likely Fault Category |
|---|---|---|
| Visible fluid dripping or spraying from the connection point. | Determine if the leak occurs only when connected, only when disconnected, or during the mating/demating process. | Leakage: Likely a seal, O-ring, or housing integrity issue. |
| Operator reports insufficient or no cooling effect. | Listen for pump operation. Disconnect the suit and check for strong, steady fluid flow from the source-side connector. | Flow Restriction: Could be an internal clog, a kinked hose, or a pump/chiller issue. |
| Connector is difficult to push together or pull apart. | Visually inspect both male and female ends for debris, damage, or deformation. Attempt to operate the connector with no hoses attached (if possible). | Mechanical Failure: Likely debris, damaged locking mechanism, or pressure trapping. |
This initial sorting prevents wasted time. For instance, treating a flow restriction by replacing a connector seal will not solve the underlying problem of a clogged coolant line.
Failure Mode Deep Dive: Leaks and Drips
Leaks are the most frequently reported issue with QD fittings. However, not all leaks are the same. Differentiating between a nuisance drip and a critical failure is key to a proportional response.
1. Seal and O-Ring Degradation
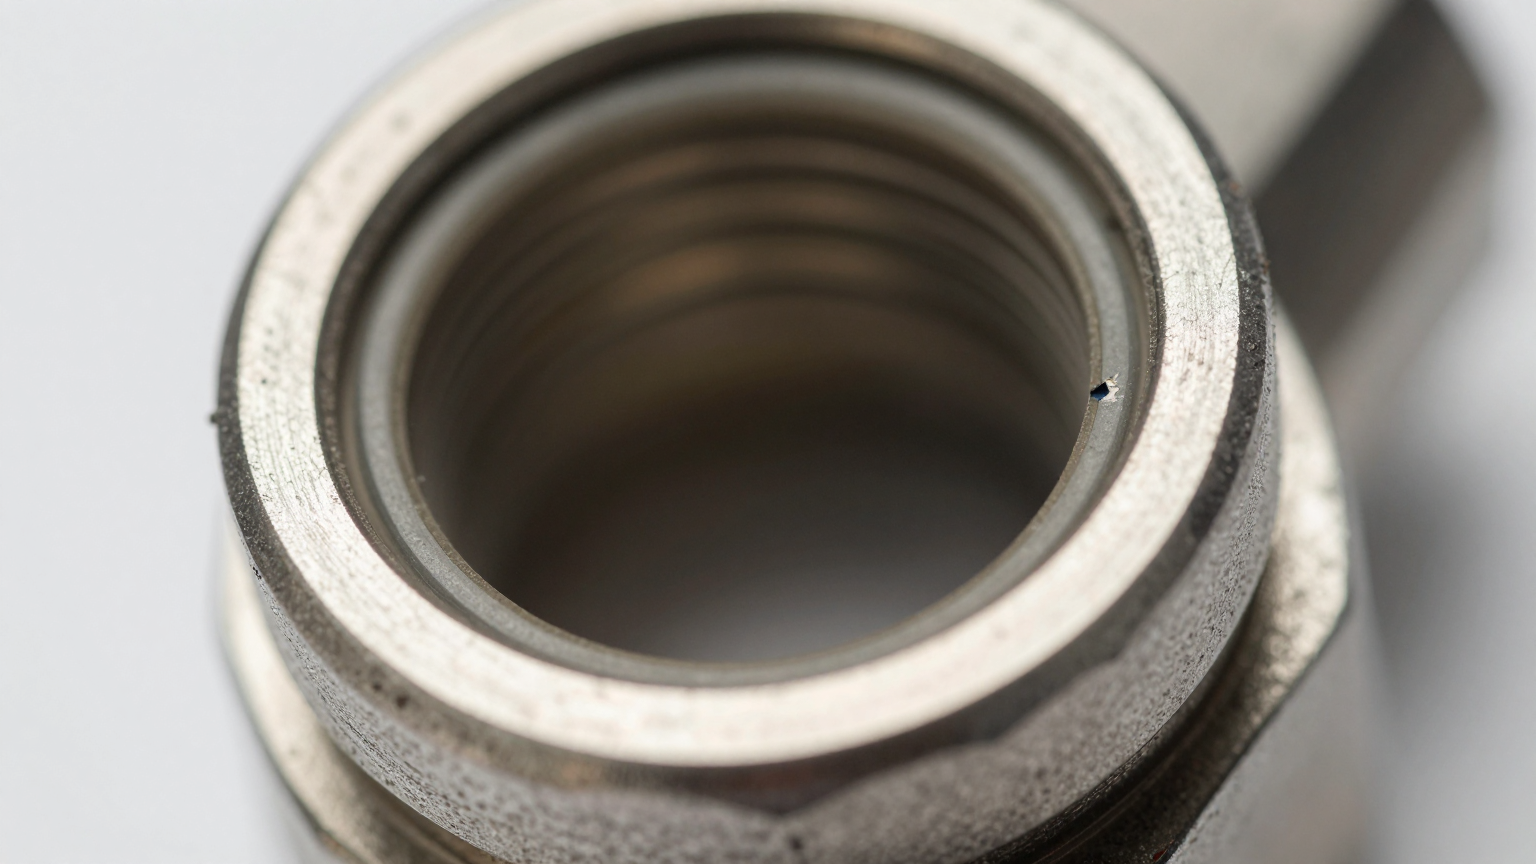
The primary sealing element in most QD connectors is an O-ring or a similar elastomeric seal. These are wear items and are susceptible to several forms of damage.
- Cause – Abrasive Contamination: Dirt, sand, or grit introduced into the connector during handling can score or tear the O-ring. This is common in field operations where disconnected hoses are dropped on the ground. The abrasive particles create a path for fluid to escape under pressure.
- Cause – Chemical Incompatibility: Using unapproved coolants, additives, or cleaning agents can cause seals to swell, shrink, or become brittle over time. This compromises their ability to conform to the mating surface. Always use the fluid recommended by the cooling system manufacturer, which is typically distilled water with a specific biocide and/or glycol mixture.
- Diagnosis: A slow, steady drip when the system is connected and pressurized often points to a compromised seal. Disconnect the fitting and carefully inspect the O-ring for nicks, cuts, flat spots, or a hardened texture.
2. Damaged Mating Surfaces or Housing
Beyond the replaceable seal, the rigid body of the connector can also be a source of leaks.
- Cause – Impact or Improper Handling: Dropping the connector on a hard surface or attempting to force a misaligned connection can crack the plastic housing or dent a metal one. A hairline crack may only leak under full system pressure.
- Cause – Cross-Threading: On connectors that use a threaded locking collar, cross-threading can prevent the two halves from seating fully, putting uneven pressure on the internal seal and creating a leak path.
- Diagnosis: Clean the exterior of the connector thoroughly and inspect it under good light for any signs of cracks or deformation. For persistent leaks where the O-ring appears healthy, this is a strong possibility.
Failure Mode Deep Dive: Flow Restriction and Blockages
A lack of cooling performance, even with the chiller unit running properly, often points to a blockage. The QD fitting, with its internal valves and springs, is a natural chokepoint where debris can accumulate.
1. Debris-Induced Clogging
Contaminants are the primary enemy of fluid flow. They can be introduced externally or generated internally.
- External Debris: Dust, mud, and environmental particulates are the most common culprits. A connector half left uncapped in a dirty environment is almost certain to collect debris that will be forced into the flow path upon connection. This can jam the internal poppet valve open or closed.
- Internal Debris: This is more insidious. Using tap water instead of distilled water can lead to mineral deposits (scale) over time. More significantly, if the wrong fluid is used or if it’s not maintained, you can get biological growth (algae, slime) or precipitates from coolant breakdown. These particles circulate until they find a place to lodge, and the QD valve is a prime candidate.
- Diagnosis: Disconnect the suit from the chiller. Point the chiller-side hose into a bucket and power the system on briefly. You should see a strong, unimpeded stream of fluid. If the flow is weak or sputtering, the problem is likely upstream (in the chiller or pump). If the flow is strong, repeat the test for the garment side by gently blowing air through it to check for obstructions. A blockage in the QD will often be visible upon inspection of the internal valve mechanism.
2. Kinked Hoses and Improper Routing
The issue may not be inside the connector but right next to it. A hose that is bent at too sharp an angle right at the fitting can collapse internally, severely restricting flow without any visible external damage. This is common when hoses are routed with insufficient strain relief, causing all the bending stress to be focused on one point.
Best Practice: Ensure that hoses have a gentle, sweeping bend as they approach the connector. Avoid sharp, 90-degree angles. Using zip ties to secure the hose to a fixed point a few inches away from the fitting can provide effective strain relief and prevent kinking.
Operational Discipline and Preventative Maintenance
The vast majority of QD fitting failures can be prevented through simple, consistent operational procedures. Reliability is not just about hardware; it’s about process.
- Always Use Dust Caps: This is the single most effective preventative measure. Both the hose-side and the suit-side connectors should be capped immediately upon disconnection. This physically prevents debris from entering the system.
- Wipe Before You Connect: Even with dust caps, it’s good practice to wipe both connector halves with a clean, lint-free cloth before mating them. This removes any fine dust that may have settled on the exterior.
- Regular Inspection: During routine equipment checks, operators should perform a quick tactile and visual inspection of the connectors. Check that the locking mechanism moves freely and engages with a positive click. Look at the visible seals for any signs of damage.
- Fluid Quality Management: Adhere strictly to the manufacturer’s recommendations for coolant. A clean, well-maintained fluid reservoir is critical. If the fluid in the chiller unit appears cloudy, discolored, or has particulates floating in it, it’s time for a full system flush and fluid replacement. The AlphaCooler system, like any high-performance liquid cooling loop, performs best with clean, specified fluids.
Frequently Asked Questions (FAQ)
Q: My connector drips a few drops of fluid every time I disconnect it. Is it broken?
A: Not necessarily. Many standard QD designs will release a small, residual amount of fluid trapped between the internal valves upon disconnection. This is often normal. However, if it’s a continuous drip or a stream, or if you have specific non-spill requirements, you may need to investigate a true dry-break style connector or inspect your current one for seal wear.
Q: The connector is suddenly very difficult to push together. What’s the cause?
A: Do not force it. The most common causes are debris obstructing the mechanism, or trapped fluid pressure. Disconnect the power to the chiller to release pump pressure. Check carefully for any visible grit or dirt in either half of the connector. If the problem persists, there may be an internal mechanical issue.
Q: Can I use a silicone spray or other lubricant to make the connector easier to operate?
A: This is strongly discouraged unless explicitly approved by the connector manufacturer for the specific seal material. Many petroleum-based lubricants will cause O-rings to swell and degrade, leading to leaks and eventual failure. A clean connector should operate smoothly without external lubrication.
Q: Can I mix and match quick disconnect fittings from different brands?
A: It is common practice to avoid this. Even if two fittings appear to mate, their internal tolerances, valve designs, and seal materials can be different. This mismatch can lead to unreliable performance, leaks, or flow restrictions. For system integrity, it’s best to maintain consistency across your equipment fleet.
Q: How often should we be replacing the O-rings in our connectors?
A: Replacement should be based on condition, not a fixed time interval. Institute a regular inspection schedule. If a seal appears nicked, flattened, brittle, or stretched during inspection, it should be replaced. With proper handling and clean fluid, seals can last a very long time.
Q: What is the best way to clean a connector that has been dropped in the mud?
A: Disconnect it from the hose if possible. Use a clean cloth and potentially a small brush with soft bristles to remove all external debris. A small amount of isopropyl alcohol can be used to clean the mating surfaces, but ensure it evaporates completely before reconnection. Pressing the internal poppet valve (with eye protection) can help flush out any internal debris with a small amount of fluid.
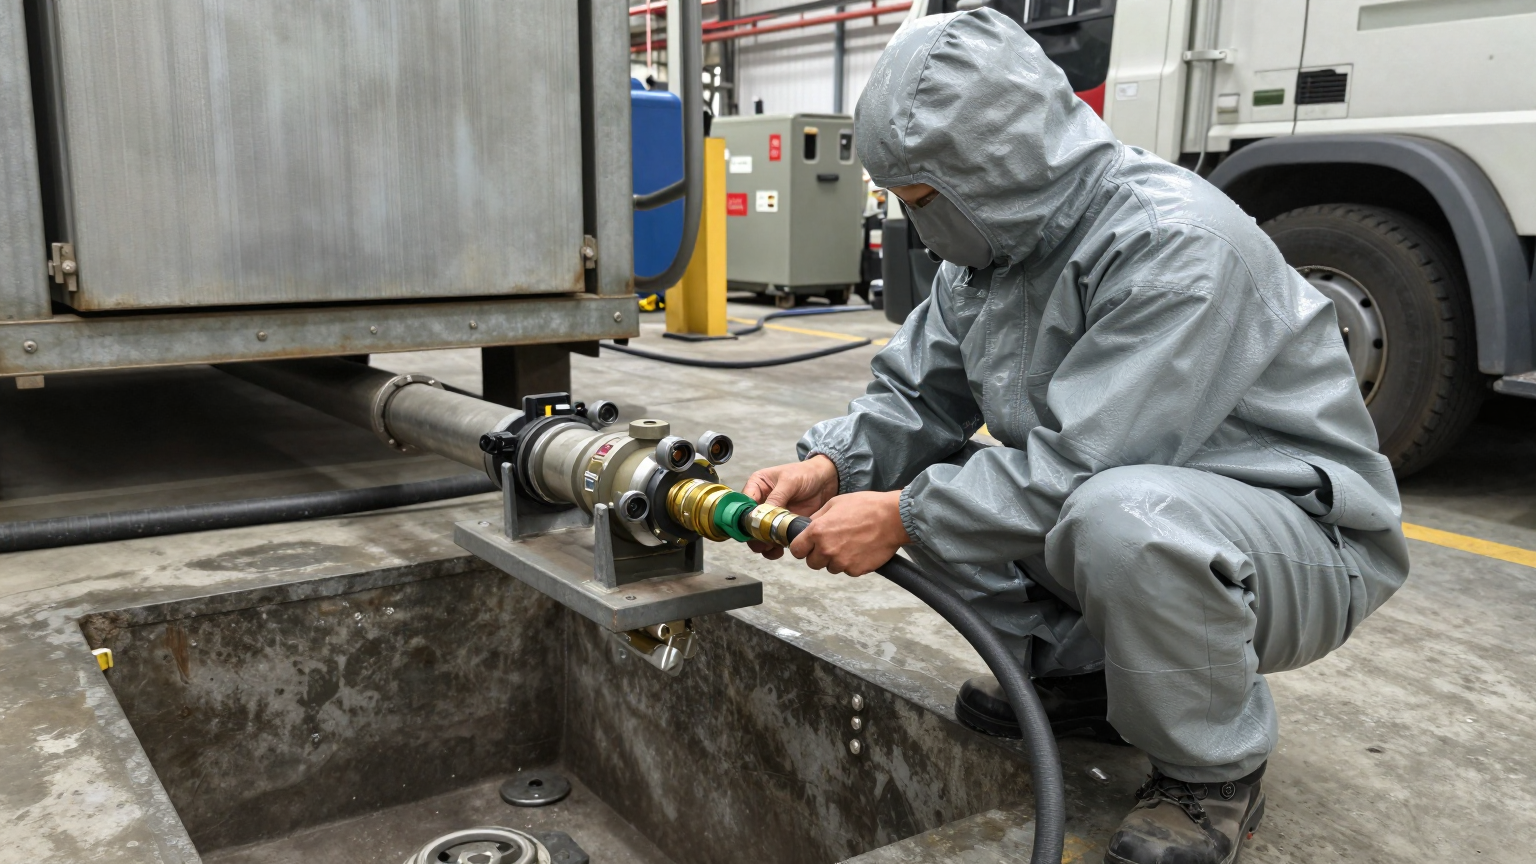
For teams operating under unique environmental pressures or with specific platform integration requirements, a deeper discussion on connector selection and hose routing strategies is often beneficial. If your operational constraints differ from standard scenarios, we can review the system’s configuration to align on a robust path forward.
Ultimately, the reliability of a cooling suit’s quick disconnect system is a direct reflection of the operational and maintenance discipline supporting it. By treating these critical components with care and implementing systematic troubleshooting, organizations can significantly enhance the safety, uptime, and effectiveness of their heat-stress mitigation programs.
0 条评论